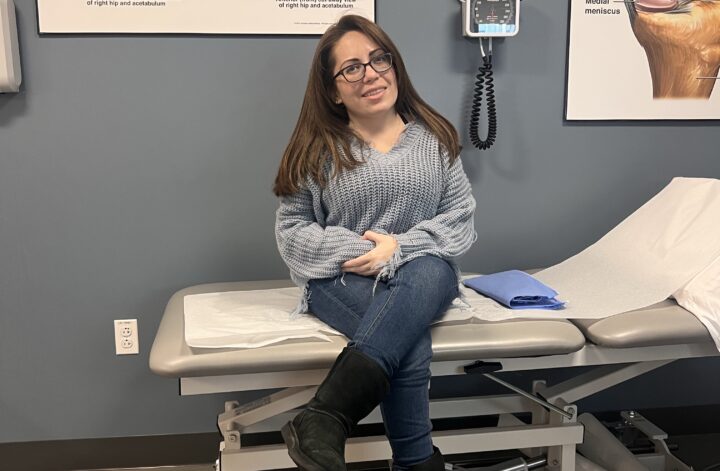
15 Year Hip replacement checkup!

In 2008 I had my right hip replaced; the following year, I had my left hip replaced. At the time, I was only 19 years old. As you can imagine, that was probably one of the scariest things I have ever had to go through, and so much fear ran through my head. At the time, this was something uncommon for someone so small to get this type of surgery; I felt like a freak in many ways.

I can remember going to the doctor’s appointments the year leading up to my first surgery; I would leave crying after each surgery. The fear, the unknowing of how my life would be after my hip was replaced, what the recovery would be. Unfortunately, one of my biggest fears, which still rings true to this day, is whether someone would want to be with someone who had hip replacements, especially so young, knowing eventually I would have to go through the whole ordeal again. I used to be really insecure about my hip scars; I was so afraid to have anyone see them for years. I would wear boyshorts bathing suit bottoms, but they were not sexy or cute. It was truly to hide the scars; it’s funny I finally decided to embrace them by getting a meaningful tattoo along my scar line. This way, I would be excited to show off my tattoo and forget I even had a scar.

When I had my first hip replacement surgery, I was told the typical length of time before getting the joints re-replaced would be 10-15 years. At 19, that seemed like a long time; as I got older, it started to feel like a ticking time bomb before I may have to go through the whole ordeal all over again. This week I went for my checkup to see how my replacements were doing. Knowing I may hear times up, it’s time to get your hips redone. Well, I am excited to say I was told to come back in 5 years, words I was not expecting, and I could not be happier. It was like a weight taken off my mind. I have tried to be mindful of my weight, work out, and stay healthy. Anything possible to prolong the wear and tear of my artificial joints. It looks like everything has paid off, which I will continue to do in hopes I can push past even the next 5-year marker.

Being 35 with both hips replaced is a weird thing to say or even be at times. Looking back, I think that whole experience was something that really shaped the person I am today. I had many insecurities from the two surgeries and some other items that happened during that time. However, knowing where I am now, overcoming most of my insecurities, and even being able to admit some still linger reminds me that I am strong and can handle a lot.

`
Continue Reading

Holiday Gift Idea’s DIY Style

This is a #sponsored post.

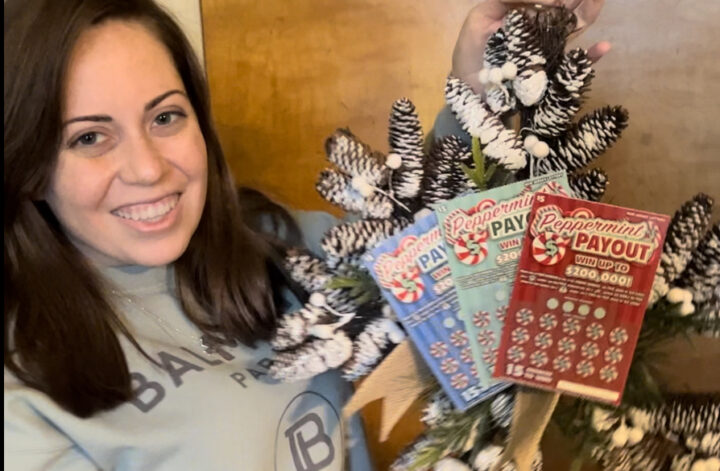
One of my favorite things is creating fun gifts for my friends and family. I love buying myself some scratch-offs; of course, they are the perfect add-on when putting a gift together for someone else. Though putting them inside a card can be so dull.

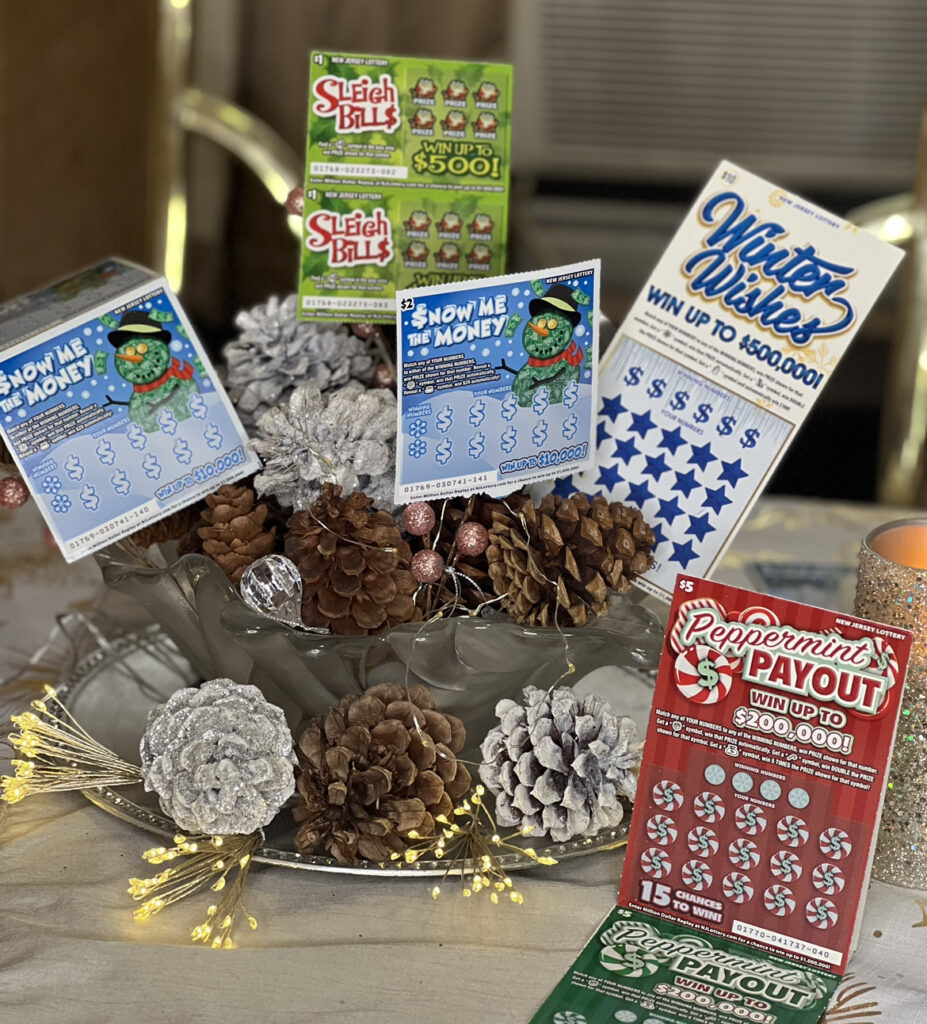
Check out @NJLottery new Holiday Scratch-Offs with over $41 million in prizes! The top prizes range from $500-$500,000!

Thank you, @NJLottery, for #sponsoring this post to help me show some fun, creative ideas.

Below is my list of fun, creative ways to make your DIY gift ideas when you want to gift someone – Holiday Scratch-Offs

  • Add them to a foam circle to make a wreath out of scratch off’s
  • Pin them to a foam cone to create a Christmas tree, and add a little star to the top.
  • Use tape to attach scratch off’s to the sticks that you can add to a centerpiece.
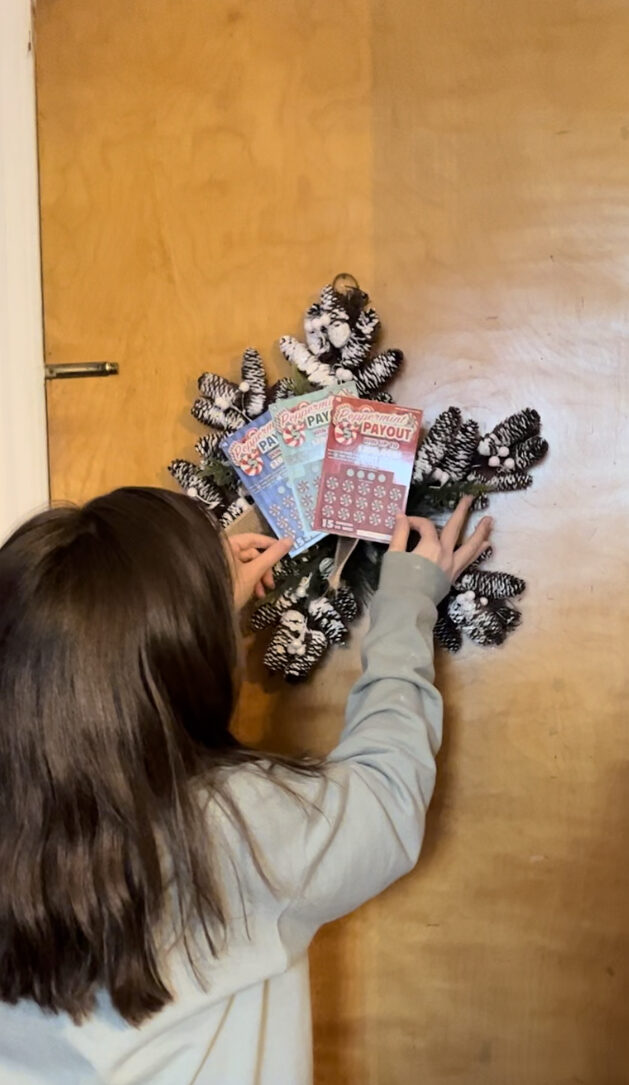
  • Find a pretty door decor and tape a couple scratch off’s to it; this way, the person you are gifting this to can keep the decor after they do the scratch off’s.
  • Place some in Christmas stockings.
  • Add some to a gift bag, but make it long enough so they hang over like a candy cane.

Hopefully, these DIY ideas inspire you to create a fun gift idea for anyone special to you this holiday season. Try New Jersey Lottery’s new Holiday Scratch-Offs, four festive tickets jampacked with over $41 million prizes!


New Jersey Lottery holiday Scratch-Offs are a fun gift that could keep on giving, so why not give a little scratch-off magic this season?


Pick up Scratch-Off games today while you shop.

$1 – Sleigh Bills:
Top prize: $500
$2 – Snow Me the Money
Top prize: $10,000
$5 – Peppermint Payout
Top prize: $200,000
$10 – Winter Wishes
Top prize: $500,000

NJ Lottery has sponsored this post, but all opinions are entirely my own.

Disclaimer: You must be 18 or older to buy a lottery ticket. The New Jersey Lottery reminds players it’s only a game…remember to play responsibly. If you or someone you know has a gambling problem, call 1-800-GAMBLER®.

For more information, visit New Jersey Lottery https://www.njlottery.com/en-us/home.html (hyperlink New Jersey Lottery using the homepage link provided)

Continue Reading

Cupcakes for any Occasion

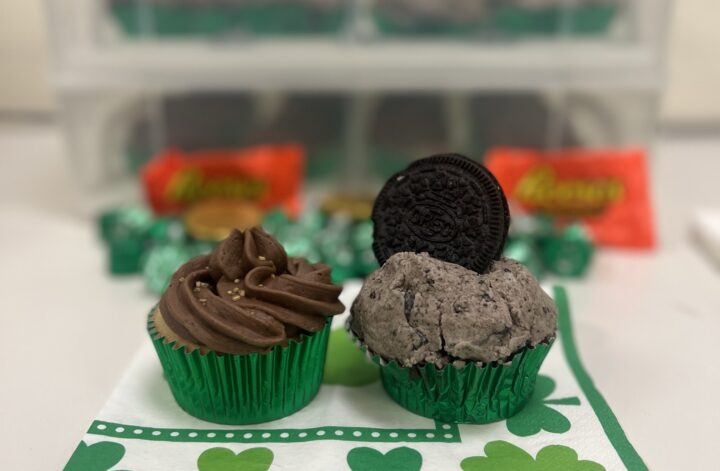
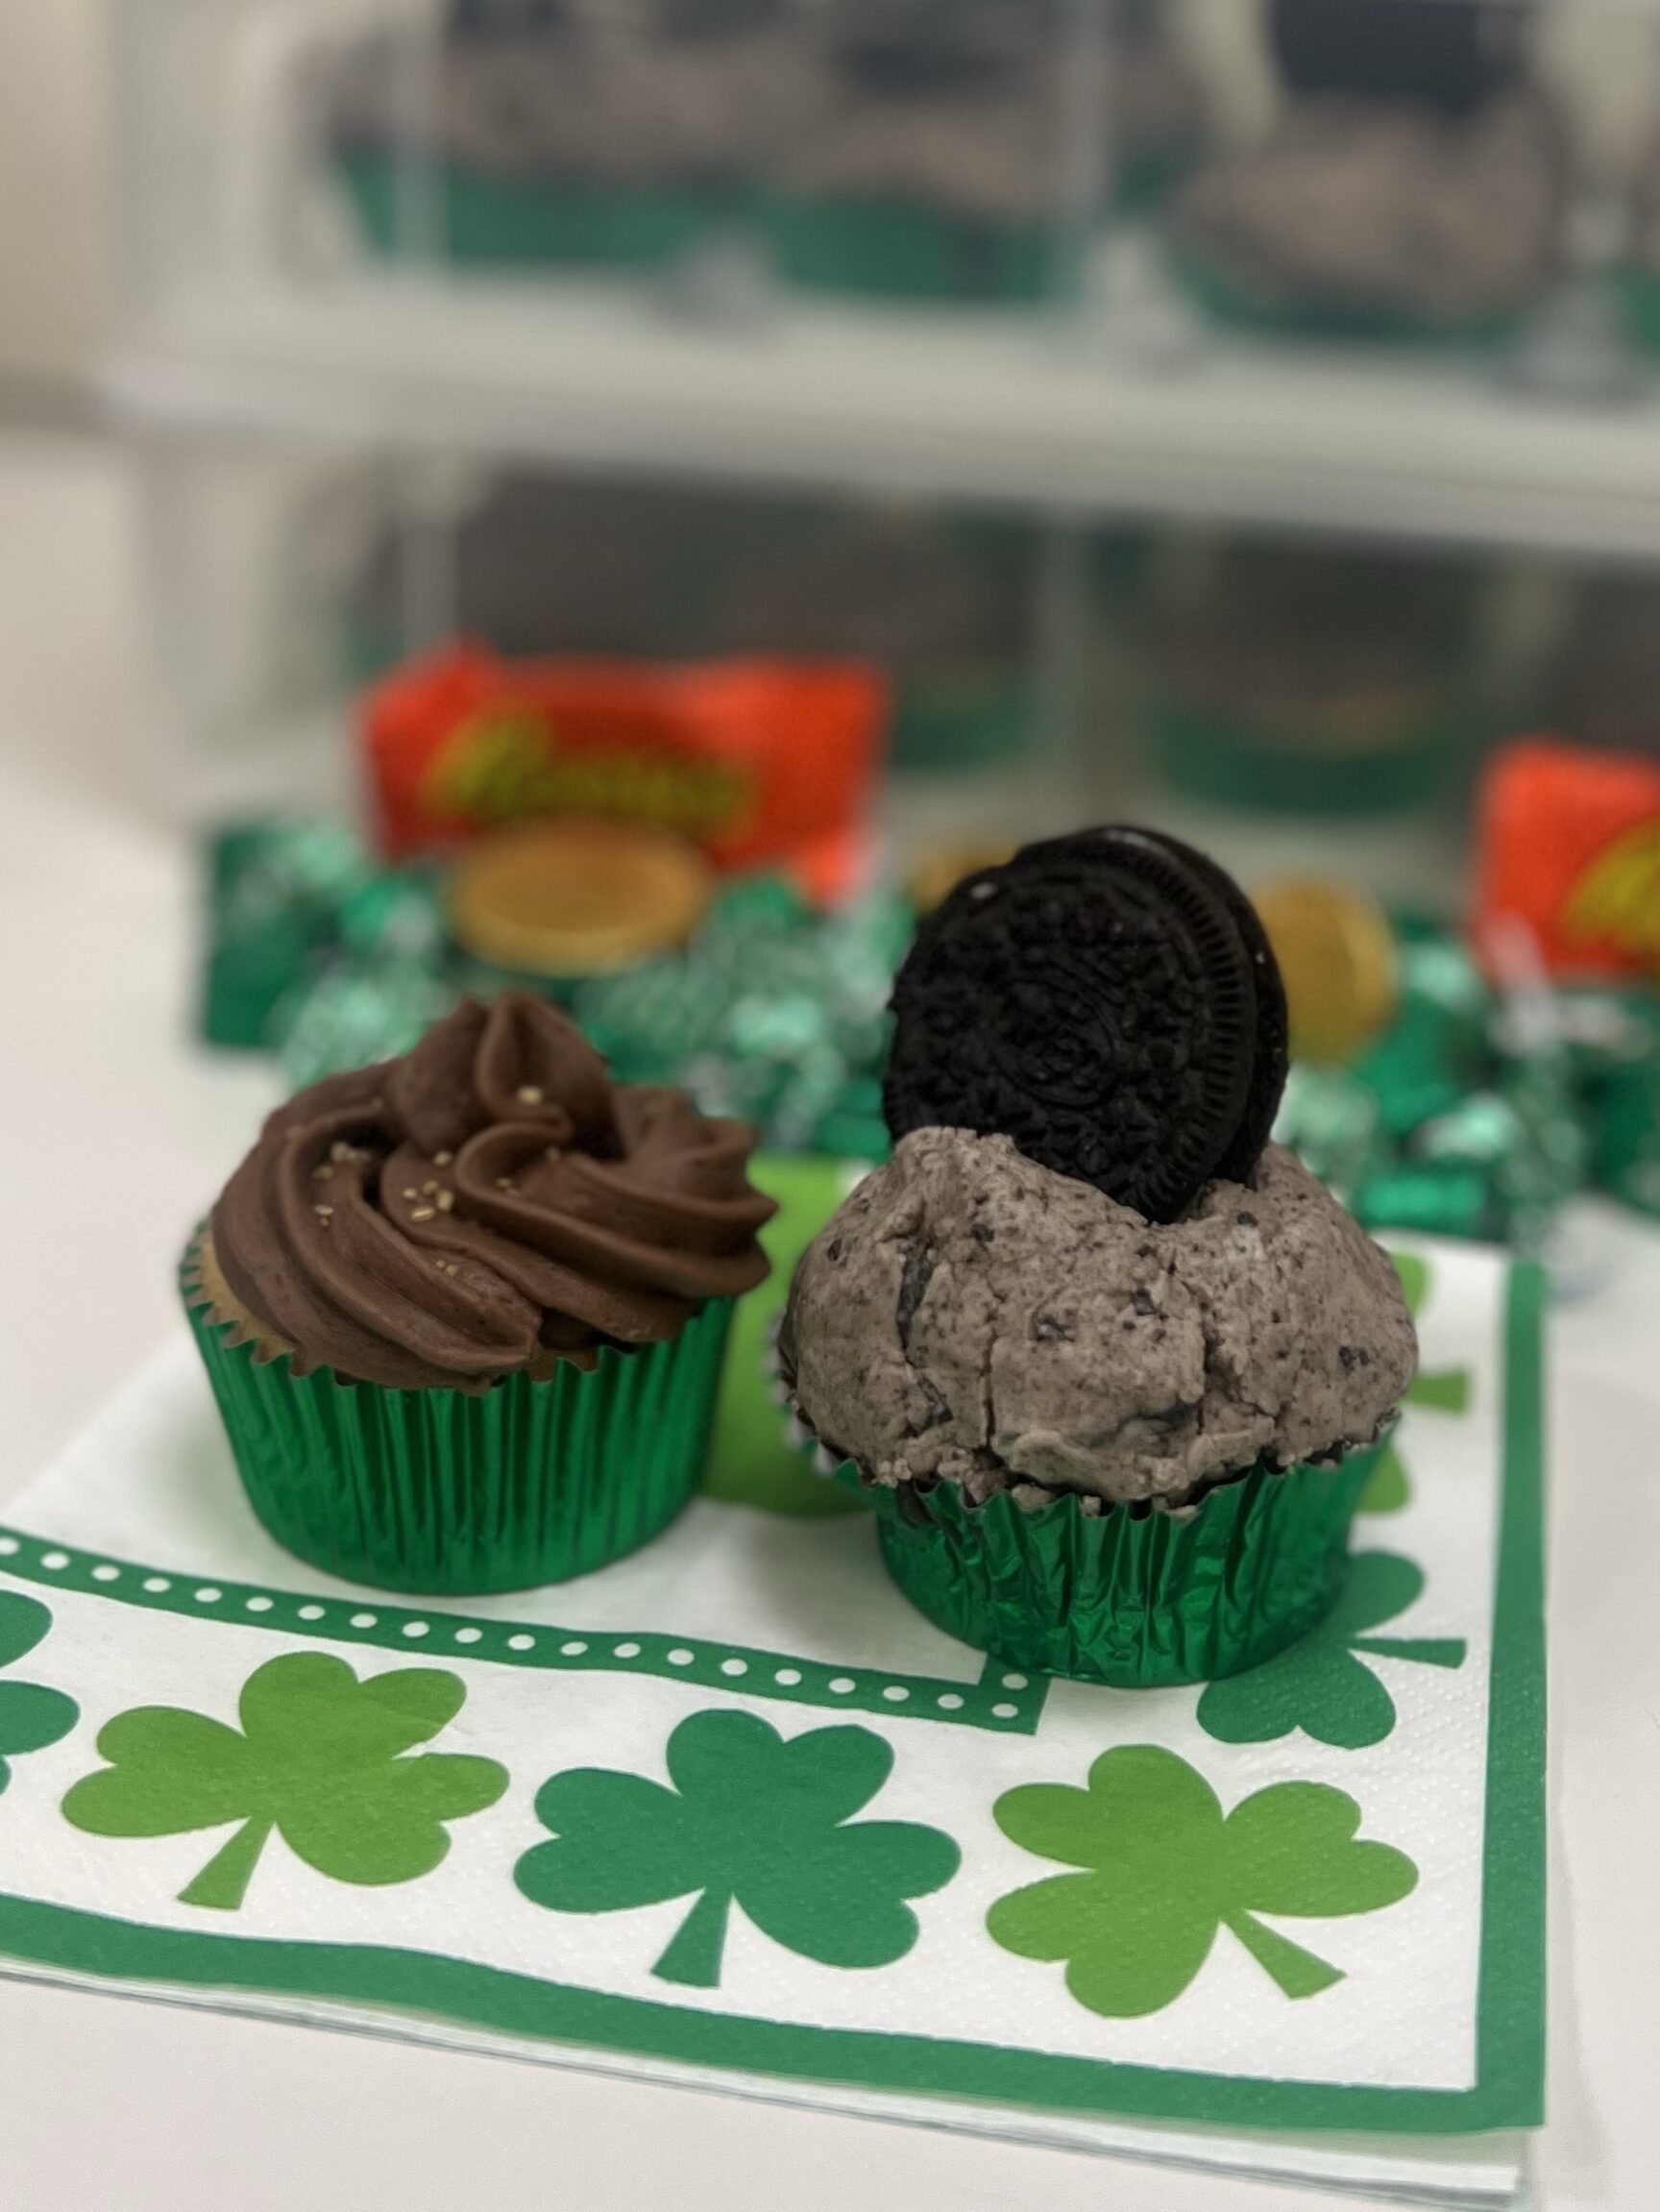
I made two types of cupcakes to bring into my office and they both came out amazing. I brought them in for St Patricks Day however they will work for any event or reason to bake.

The first type I made was a Vanilla cupcake with thick Chocolate Icing. This came up so beautifully, the cupcake stayed so moist and the frosting honestly stayed fresh for days. The second cupcake was a chocolate cupcake with an oreo cream frosting, which just came out so fun and very tasty. Below are the recipes for each cupcake.

Vanilla Cupcake with the Chocolate Frosting

Servings: Between 12-18 Cupcakes
Ingredients
1 1/3 cups all-purpose flour
1 1/2 tsp Baking powder
1/2 cup Melted Unsalted Butter
1 cup Granulated sugar
1 Egg Large
1/4 cup sour cream
3/4 cup whole milk
1 tbsp Vanilla extract
Instructions

  1. In a mixing bowl, mix together the flour and baking powder, I tend to use a whisk to mix everything together.
  2. In another mixing bowl or Kitchen Aid, mix together melted butter and sugar until everything is combined. Make sure the sugar is completely combined with no clumps or when you get to the bottom of your batter you will be scooping a ton of sugar.
  3. I add in the Vanilla extract next let that combine with everything for a little.
  4. Then add the egg, sour cream, and the whole milk, and mix until smooth.
  5. Slowly add the dry mixture into the wet mixture until everything is combined smoothly.
  6. Pour batter in cupcake liners.
  7. Bake at 350 degrees for 20-22 minutes or until an inserted toothpick in the center comes out clean. I tend to wait until the edge is golden.
  8. Normally while the cupcakes are cooling, I start to work on the frost this typically allows enough time for the cupcakes to cool and the frosting to be fresh when applying to the cupcake.

Chocolate Buttercream Recipe
• 2 Sticks Unsalted Butter – Make sure your butter is at room temperature. I normally take the butter out when I start making the cupcake batter. Normally this is enough time to allow the butter to soften.
• 5 Cups Powdered Sugar – Add each cup in slowly to allow everything to mix everything properly.
• 1/2 Cup Unsweetened Cocoa Powder – Whichever Cocoa powder is your favorite will work perfectly.
• 1/2 Cup Heavy Cream – I tried heavy cream with this recipe and I am never turning back it worked perfectly to create such a beautiful texture. However other types of milk or milk alternatives can be used instead and will work just as well.
• 1 tsp Vanilla extract

Moist Chocolate Cupcakes

Servings: About 14 cupcakes
Ingredients:
• 1 cup all-purpose flour
• 1 cup granulated sugar
• 1/2 cup cocoa powder
• 1 teaspoon baking powder
• 1/2 teaspoon baking soda
• 1/2 teaspoon salt
• 1 large egg, room temperature
• 1/2 cup buttermilk, room temperature
• 1/2 cup vegetable oil
• 1 teaspoon vanilla
• 1/2 cup very hot water

Instructions:

  1. Heat oven to 350 degrees. Line a cupcake pan with paper liners.
  2. Combine the flour, sugar, cocoa powder, baking powder, baking soda, and salt together in a bowl and whisk together.
  3. Combine the egg, buttermilk, oil, and vanilla in another bowl or Kitchen Aid and mix.
  4. Add the dry ingredients to the wet ingredients slowly.
  5. Then add the hot water to the batter and mix again, scraping the sides of the bowl as necessary, until combined. The batter will be thin once the water is added.
  6. Fill cupcake liners half full, then bake between 18-21 minutes,
  7. I normally use a toothpick to make sure everything has been baked thoroughly.
  8. Cool completely before frosting.

Oreo Cream frosting
Ingredients
• 1 cup unsalted butter softened
• 4 cups powdered sugar
• 1 teaspoon vanilla
• 3 Tablespoons heavy cream
• Full sleeve of double stuffed Oreos make sure you crush them firmly.


Instructions

  1. In a Kitchen Aid, mix the butter until smooth, creamy, and light, which normally takes about 4-5 minutes if you have it on a slower speed.
  2. Add 2 of the cups of the powdered sugar, beating until combined. Then beat in the remaining powdered sugar, and vanilla, then add just enough heavy cream or milk to get the frosting for a nice consistency.
  3. Stir in the Oreos, allow everything to blend together for a good 5 minutes.
  4. If you want to you can also add a whole Oreo to the top of each cupcake.

Continue Reading

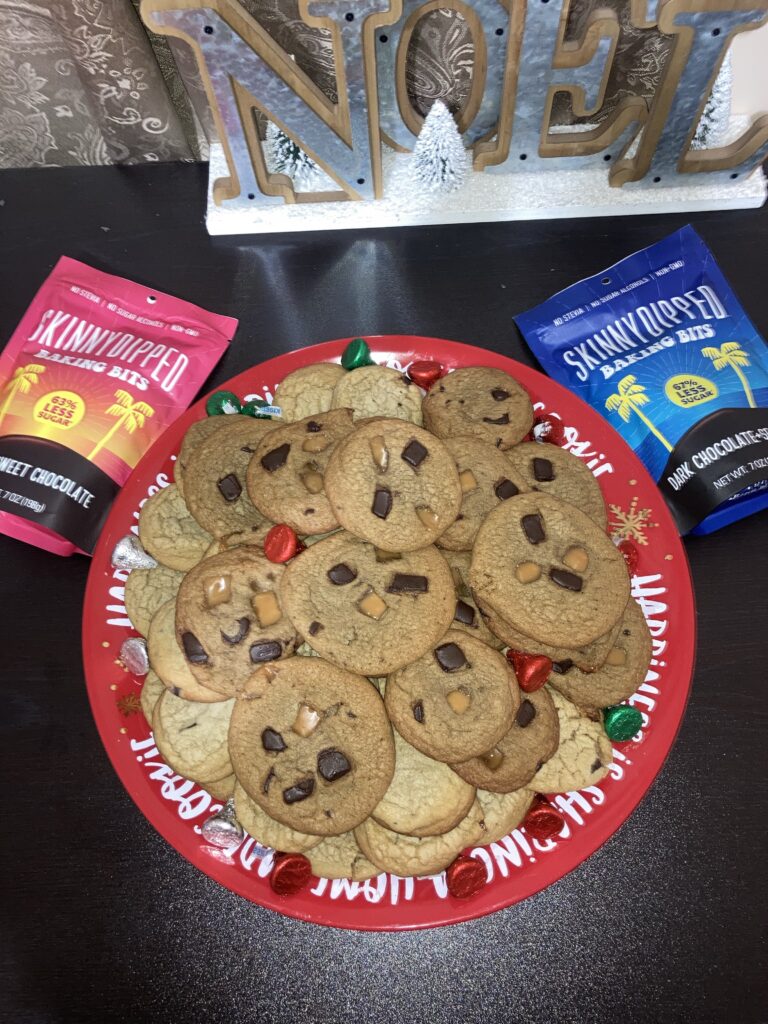
Dark Chocolate Sea Salt & Caramel Cookies

Ingredients
Two sticks unsalted butter (leave out to allow it to soften)
1 cup granulated white sugar
1 cup packed brown sugar
2 large eggs
2 teaspoons vanilla extract
1 teaspoon baking soda
3 cups all-purpose flour
3/4 cup Skinny Dipped either their semi-sweet chocolate chips or Dark Chocolate sea salt chips
3/4 cup caramel squares


Instructions
Preheat oven to 375 degrees. 
I use a kitchen aid, so everything goes within the same bowl. 
First, add the butter, sugars, eggs, and vanilla extract into your Kitchen Aid.Set the speed to a four until nice and creamy, for about 1 minute.
Then add in the baking soda; at this point, you can switch the speed to two and then slowly start adding in the cups of flour. 
Make sure you scrape the bowl a couple of times throughout this process, then beat over medium speed for another 30 seconds until well-combined.
I add in the chocolate chips first one cup at a time to allow everything to mix well and evenly together. I also will cut the caramel squares at least in half before mixing them into the dough and then stir to combine.
I tend to roll dough balls into my hand to figure out a good size and place them on a baking sheet, about 2-3 inches apart. 

Depending on the oven type, you can bake between  9-12 minutes (mine are ready at 9 minutes as I have an older oven).

Allow the cookies to cool enough so the  Caramel will not stick to the bottom of the sheet before transferring to a wire rack. Enjoy!

Continue Reading

Girls Night Idea

Everyone loves nights with their friends, with life being so busy at times it can be hard to be able to get creative to plan something fun especially on a work night. I invited a couple friends over to hang out on a Friday night, right after work. Knowing what a busy Friday i had a head i decided to make turkey chili in a slow cooker, something healthy, yummy and simple to make when you are working. Whether you are working from home or if you have to go into the office. That is the great thing about having a slow cooker you put everything in the pot set the timer and then how every many hours to set it to cook to till will be done.

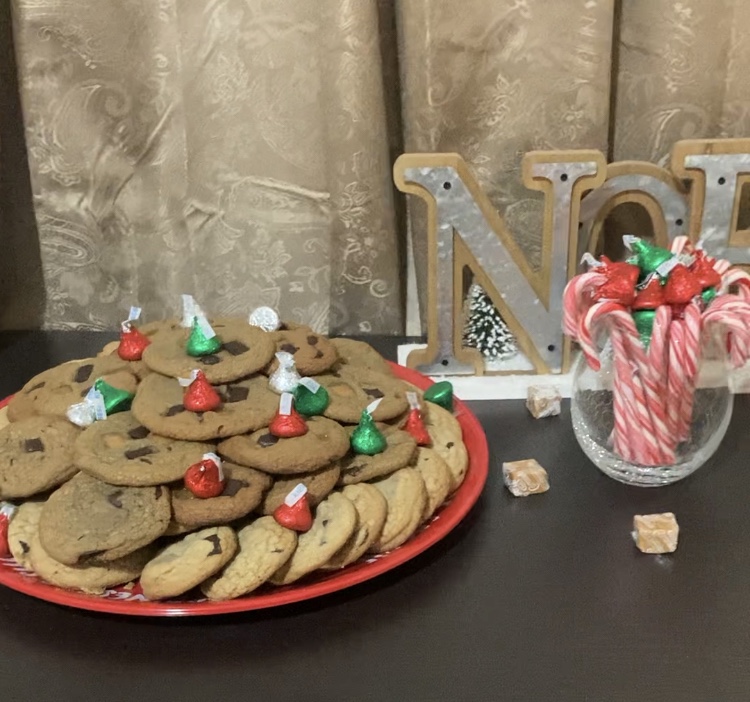
Below is my Turkey Chili recipe, but I will admit sometimes i will add extra spices in depending on who i am making the chili for depending on their spice tolerance level of course. I wanted to make everything look really pretty when my friends make over so i also did some decorating for Christmas to add to the fun night ahead. Who does not love some great Christmas decorations this year more so then ever i think everyone wants to feel the Christmas cheer a little early.

Meat 1 lb 90% lean ground Turkey, lean
Produce
1 tbsp Garlic powder
1 Can Kidney beans, red
1 Can Black beans
½ a can of Salsa
1 Yellow onion, medium
Condiments
1 (8 oz.) can Tomato sauce
1 TO 2 Cans of V8
Baking & Spices
1/2 tsp Black pepper, ground
2 tbsp Chili powder
1 ½ tsp Garlic Powder
1 1/2 tsp Salt
Oils & Vinegars
1 tbsp Olive oil
Nuts & Seeds
2 tbsp Cumin, ground

Add the olive oil in a pan let it heat up a little then and in the chopped yellow onion and ground turkey and break it apart with a fork and then cook until the turkey has brown enough to put into the slow cooker. Once you have completed this step and in all of your other ingredients.

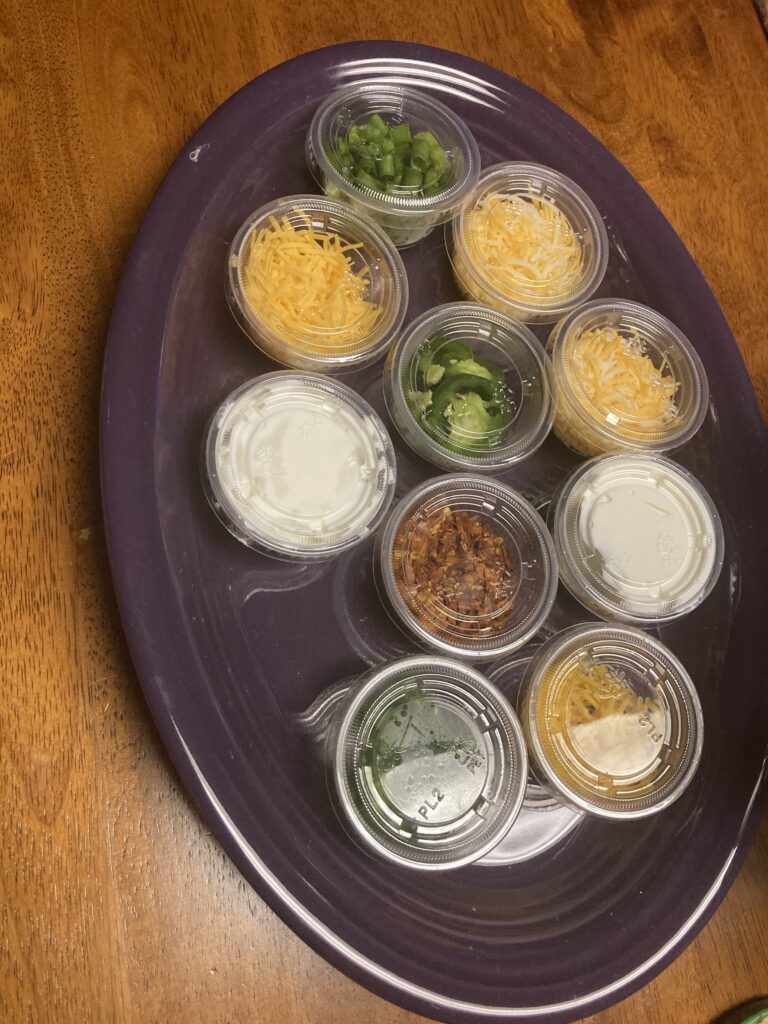
Since more then likely everyone likes their chili a little different what i decided to do was add some possible toppings to the side in little containers so each person could make it however they wanted. Everyone got a kick out of this little added touch and everyone loved the chance to make the chili their own way. This is also helpful if you have anyone who may have an allergy no possibility of cross contamination.

Of course you cant end a good girls night without a little treat, and in the winter what goes better then a nice cup of hot chocolate with some whip cream to top it off with. Perfect simple and fun girls night event that will allow for a lot of laughs and memories with your friends. As long as you do not mind doing a little prep work ahead of time this will be a stress free after work type of night.

Continue Reading

Living My Best Dyslexic Life

So maybe from reading my posts up until now you may have figured out my grammar is not the greatest or sometimes my wording just seems off. It’s not from being lazy that’s for sure, but I actually have dyslexia.  Something I’ve had all of my life but not diagnosed with until the 5th grade. I was really  lucky my mom did her research and figured out I was dyslexic way before any of my teachers would believe her. I had a reading teacher in elementary school who just kept telling my mom that i was just lazy when it came to reading and my homework. Great thing for a teacher to say about a kid right? 

Once my mom finally was able to have someone test me and paperwork provided I was dyslexic i was sent off to a private school from sixth to eight grade where i was able to learn how to read and write in a way that would work for my brain. People hear you have dyslexic and the first thing they do is ask you to read this word or that word, It doesn’t work like that at least not for me, once my brain knows a word it’s easy for me to recognize it. When i come across a new word or one i may not see on a regular that’s when figuring out what it is comes into play. The way i was taught to figure out a word is to break it down into sections and sound it out sometimes it’s easy, sometimes it’s extremely hard. If i am stressed out or do not feel well it can become so much harder for my brain to unscramble a word. 

Being an adult with dyslexia can be extremely frustrating and you can feel embarrassed at times as well from the time I entered college one common phrase everyone seems to love to tell me is, “well just write everything out and then put it aside and look at it again then you will find all of your mistakes”. Everyone let me say this once and maybe it will stick with some of you, do you realize how demining it sounds to someone who actually tries extremely hard on an everyday basis to just read and write like a regular person. My brain doesn’t work that way, it’s like telling someone who is color blind just close your eyes for a minute and then open them. I’m sure you will see the color red then. My brain does not work the same way an average person’s brain works; it doesn’t matter how much time passes. Sometimes I am not going to see whatever word or sentence I may have mixed up. It’s reading correctly in my brain so on paper it looks correct. 

Unfortunately sometimes when people hear you have a learning disability  sometimes  their first thought is you are dumb or cant possible amount to very much. When i first went back to my town’s high school my mom was asked if they wanted her to put me in a trade school program, or cosmetology, or just all special education classes. Now there is nothing wrong with going into cosmetology or getting into a trade school program however neither of those was something I wanted to do. My goal was to go to college, so getting placed into easier classes was not going to help me reach my goal. I pushed myself every step throughout my education because I wanted to prove something to every person who did and still doubts me.  

Present day I now work for a corporate company, I have my MBA in project management and I went straight to a four year college. I have the student loans to prove it unfortunately. Dyslexia isn’t something that ever goes away or that there is a fix to. You just learn how to deal with it and do not let it be a crutch or at least that’s how I handle it.

Continue Reading

Dream Kitchen on a Budget

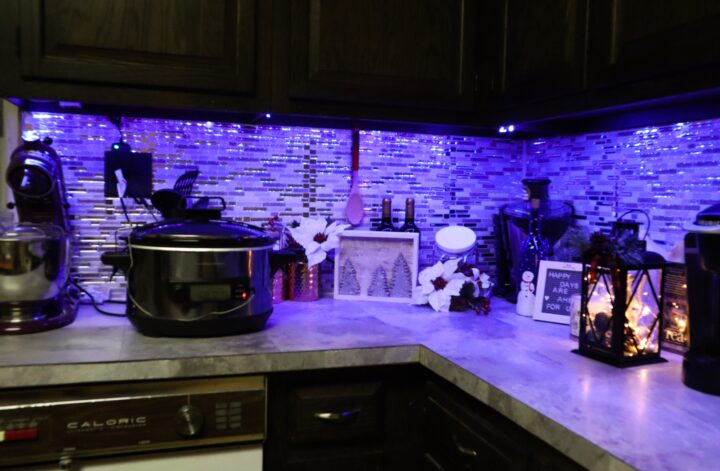
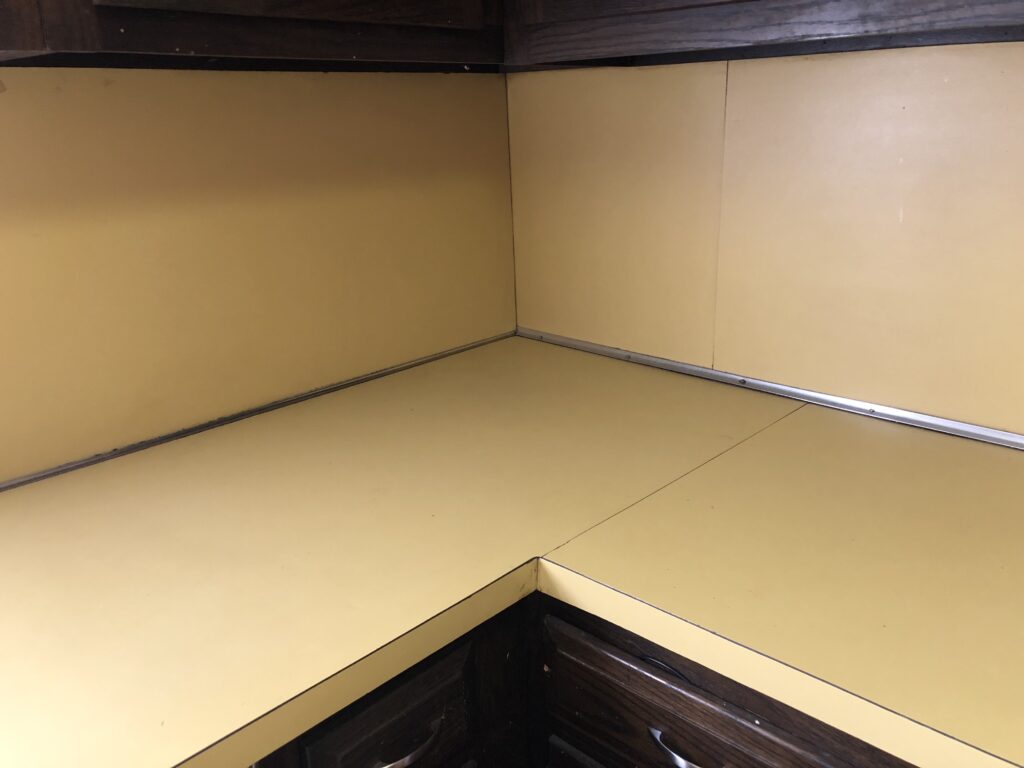
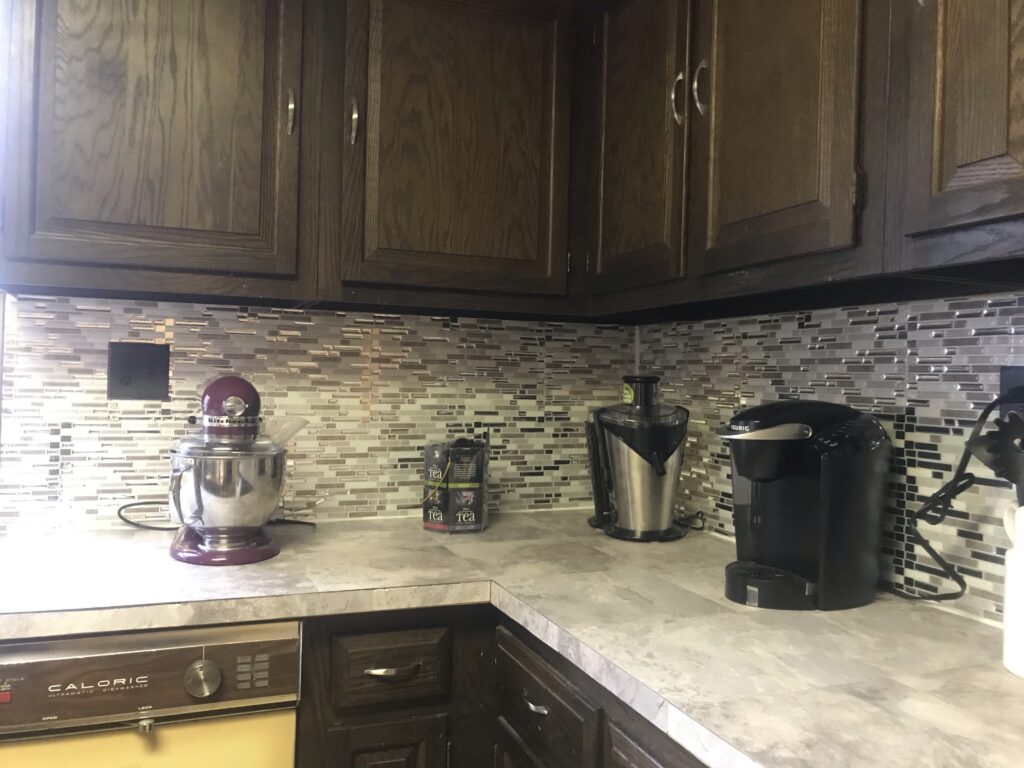
I’ve been dreaming of a new and modern looking kitchen for years but it’s just never been in the budget. My kitchen is so outdated, something that looked like it was from the 70’s which may have been the last time someone may have actually done any type of improvement on it.

We all know countertops and backsplash can be very pricey. Then you have to factor in hiring someone if you are like me who isn’t able to install it myself it would probably cost me a lot of money. In times like this sometimes you just need to think outside of the box which is when google and amazon comes in handy.  Instead of completely replacing countertops a quick and cost effective solution is a product that you can just place over the existing countertop. 

There are two ways you can do this there is an actual counter top peel and stick product. The one I originally purchased was a roll and you can just cut it to the length and stick it on the counter. However thankful i figured out before i cut the product how messy and tricky this could be, it also is not the best quality product either. If you did not lay it on just correctly there would be bubbles and it could be easy to make a nick by mistake. Now after figuring out how bad this could be and the headache this could actually cause i decided to go a different way. Lucky a friend had suggested a second option which I probably should have gone with right away. 

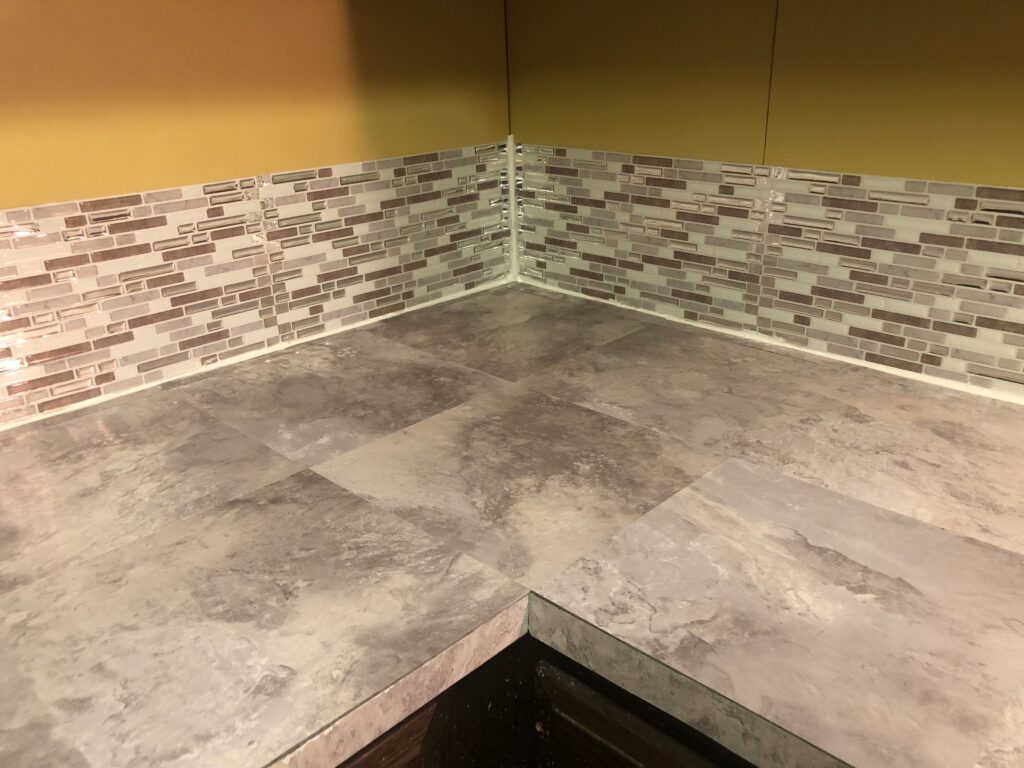
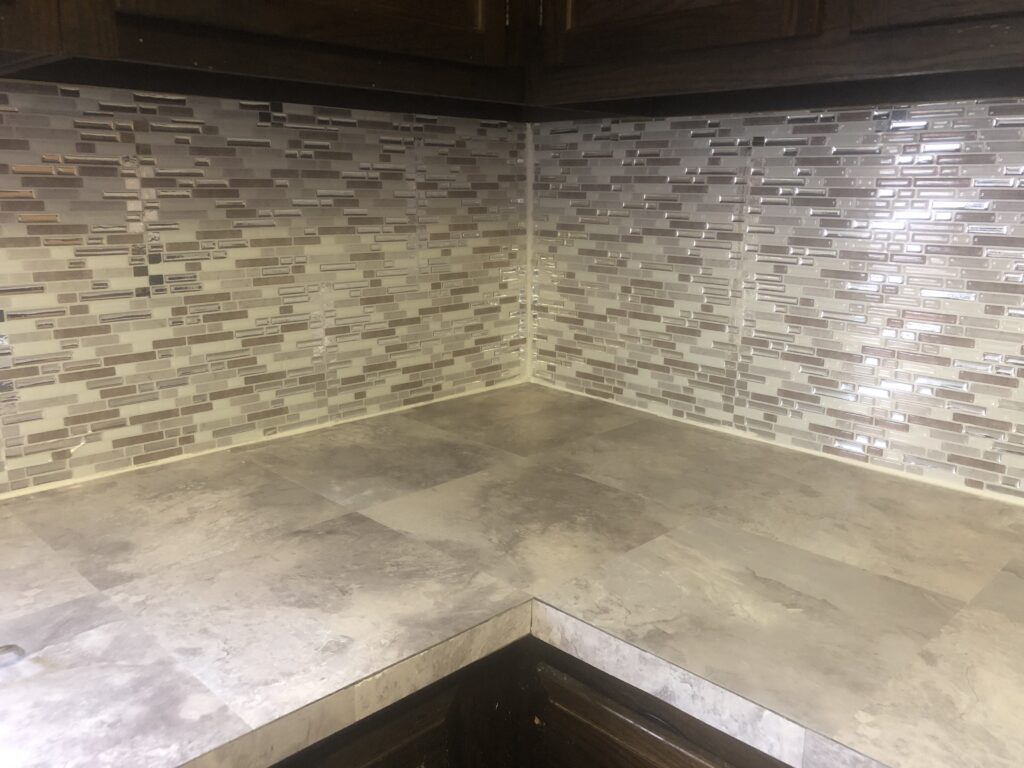
Peel and Stick Vinyl Tile was the perfect solution, depending on the pattern and color you go with it can look like a countertop. I only needed one box of the vinyl tile to cover my entire counter which was really lucky.  It looks absolutely beautiful and gives my counter such a clean fresh look to it now. 

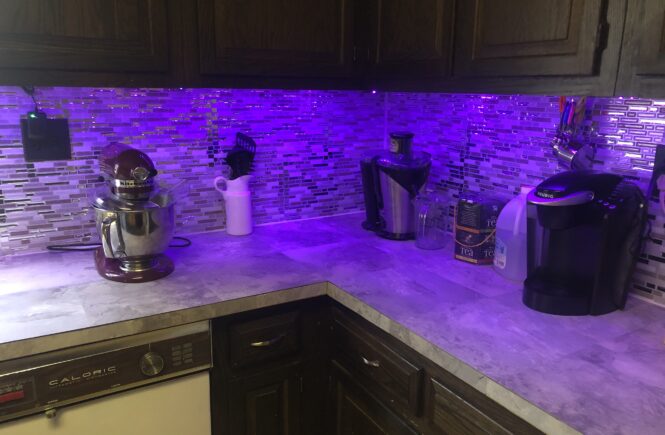
The backsplash was a little easier to figure out and deal with, there are so many amazing different styles of peel and stick backsplash. Some are very thin and easy to cut which would make it simple to model with corners or tricky areas within a kitchen. There are also others that  are thicker a little heavier which can also be good. I went with the thinner 3D wall style, the light color of the backsplash with the gray tile of the counter actually makes my kitchen look bigger. When the light reflects off of the backsplash it brightens the entire room. 

Products:
Backsplash: I went with the packages of 10 sheets in each which comes to $37.99 a pack.
Peel and Stick Vinyl Tile: One case has 30 pieces in it and the case is $26.10.
Countertop Peel and Stick: One roll cost $18.99, but this is the product i would not recommend buying.
The total cost for this project comes out to be about $217 give or tax a little with tax.

Continue Reading

How surgery changed my perspective on life

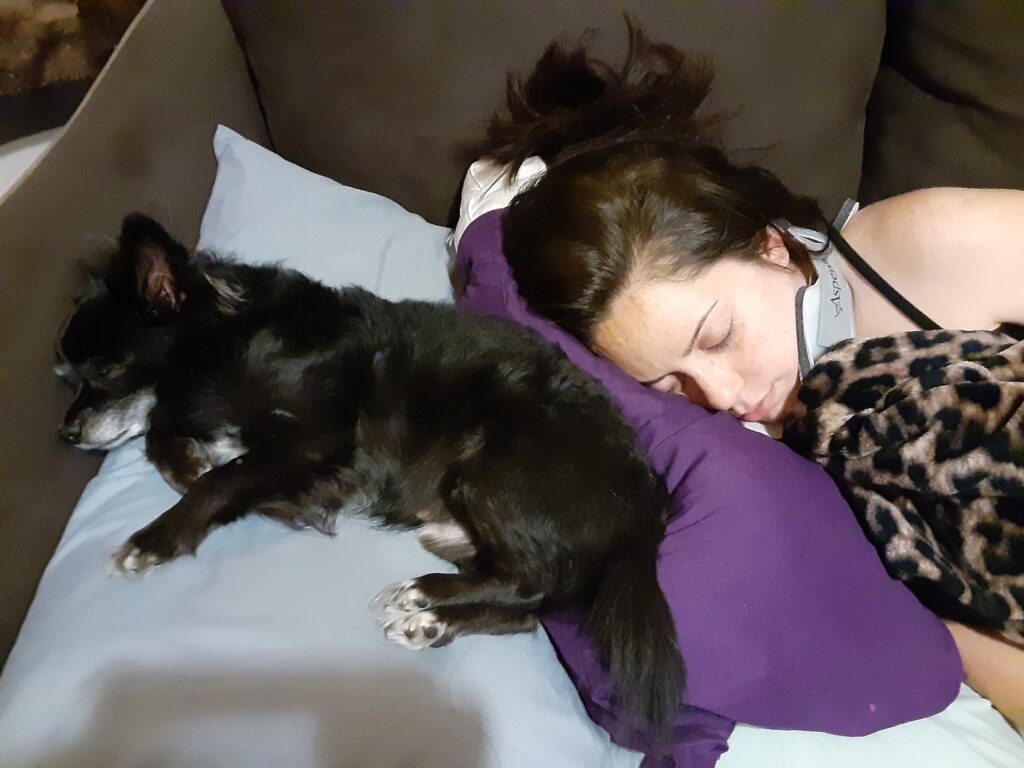
On December 4th, 2019  I had major surgery on the top of my neck, I had to have my C1-C2 fused together due to nerve and spinal cord damage symptoms. This was one of the most difficult physically, emotionally and mentally things I have had to go through in my entire life. This took about four full months to start to feel close to normal I would have to say. Truthfully I am still recovering both mentally and physically and it’s going to be a long road but hopefully it’s all worth it. 

The one thing to realize that you have no control over anything when you are recovering from surgery. How you feel, whether or not the medicine you are given will actually work and how long everything is going to last. Surgery takes a huge toll on a person, you deal with the physical pain from the moment you wake up from surgery until that one day you wake up with real relief. It also can take a heavy toll on you mentally, you can’t escape the pain you feel. The overwhelming feeling of being alone starts to weigh on you, it’s something you can’t really explain to someone who has never been in your shoes.  

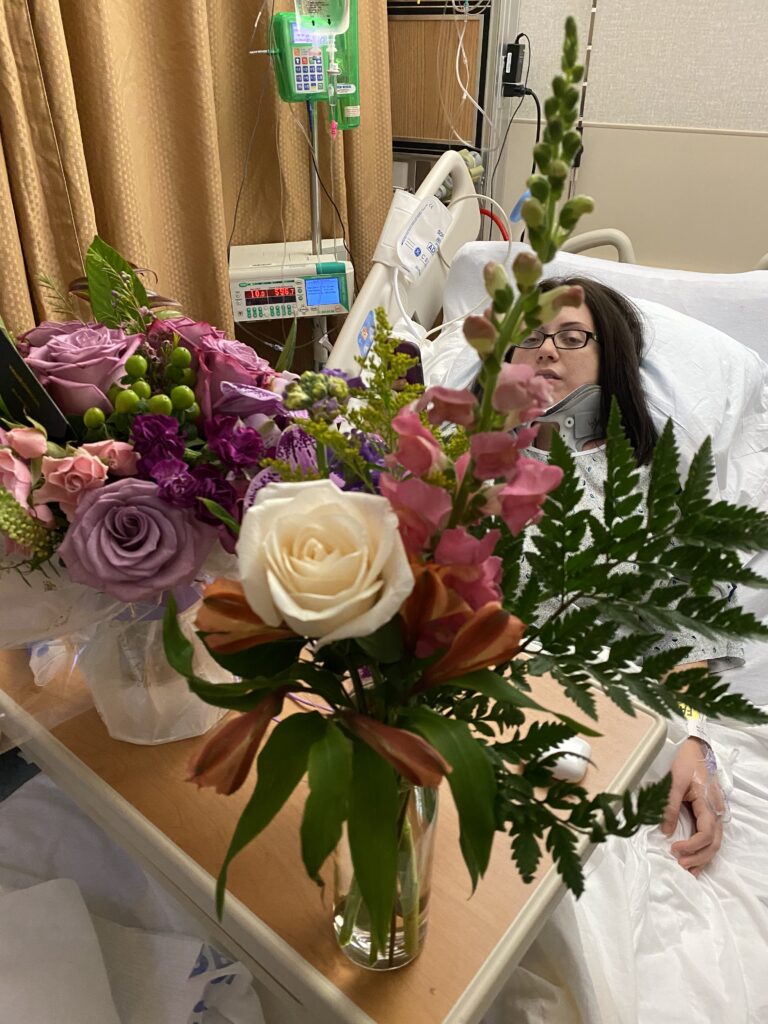
Recovering from this surgery gave me a different perspective on life, I felt completely trapped, I could not do a thing to make it better and I just had to sit there and hope I’d heal quickly . Having to wear a neck brace 24/7 for about 2 months, in constant pain, makes you feel so powerless. I was lucky I ended up having a really good support group around me between family and friends.  As I laid there in pain I thought up all the things I wanted to do when I was healed, played make believe in a sense just to let my mind escape what I was going through.  I thought my recovery would go a little quicker than it did, so.

This also gave me a chance to take a step back and see people from a different perspective, who’s going to be there for you during the bad ugly times, who only really around when they need or want something.  The older you get, the more wisdom you tend to have. I shouldn’t have to reach out to people on a regular basis when I am the one who is going through so much.  Though i’ll touch more on this in a future post, for now i’m just going to focus on how recovery was for me. 

Neck surgery was probably the most painful thing I ever detailed, and I really can not express this enough. It was such uncomfortable pain, not being able to figure out how to sleep. There is a lot I’ve learned and taken away from this experience. Figuring out how to eat was a struggle with the neck collar on. I felt like I was choking on my food with a lot of things. What I have learned is that as much as I want to plan things in advance, I have things to look forward to in the long run you really can’t control much when it comes to life. It does not matter how good of a person you may think you are to other people, you really cant expect the same treatment in return.  

What perspective have I gained? You may wonder, I learned I need to let go of trying to plan my life and what I want out of it. There will always be a curveball that’s going to mess it up, I used to be a big planner but now I almost feel what’s the point. Let’s just see where the chips lay and take things one step at a time. I’ve also gained a new perspective on my health and how important it is to take care of your body and what you are putting into it. Mental health is also such an important thing to take care of which is something I did not take into consideration before this surgery.

Overall I’d like to think that what I’ve learned and the perspective I’ve gained is most of it good, some not so good but if I could get through this I think I can handle just about anything at this point. Which is something that’s very important to remember when everything just seems to stink. Stop planning what could be your future and just learn the life you are currently in, because those plans could just end up becoming nothing more than make believe in the long run.

Continue Reading

Quarantine Life

Let’s talk about the elephant in the room, I started this blog during quarantine and it is not something I ever expected to go through. Though I’m sure no one ever really thought this will be normal for the time being. It’s a little different for me, I’ve been unfortunately stuck in the house for about six months now since I had surgery in December. The feeling of being bored, sometimes lonely can get very real and overwhelming. 

Everyone is handling this whole situation differently and who is to really say what is the right or wrong way to handle everything. I have always been the type where i need to be busy, have something to do so this is a huge adjustment.  Since I was stuck in my house months before quarantine was put into place the mental struggle I  have been having has been a little different.  While I was recovering from surgery the only light at the end of the tunnel was making plans to do things once I was fully healthy. Now all of the going into the city, brunches, rooftop bars or dinners with friends i had been hoping to plan totally went out of the window right now.  

So what have I been up to now thats its going into month six that I have been stuck inside of my house. Well now that I am finally mobile and not in pain like I was recovering from surgery.  Well I have been coming up with lists of projects, things to keep me busy and productive. This blog has become one of those items which has allowed me to become productive and who knows where this could take me.  

Like everyone else I have watched a ton of TV, throwbacks to old series I watched ten years ago. I’ve watched a bunch of new things,  I started to draw again, something I haven’t done in probably eight years.  Cleaning and reorganizing has become second nature at this point.  

One thing that I have learned during all of this is, no matter how hard you try to plan or think you have things figured out something can always just remind you just how unpredictable life truly can be.  Hopefully once this all ends I will be able to maintain everything i’ve learned personally through everything.  

Continue Reading