Dream Kitchen on a Budget

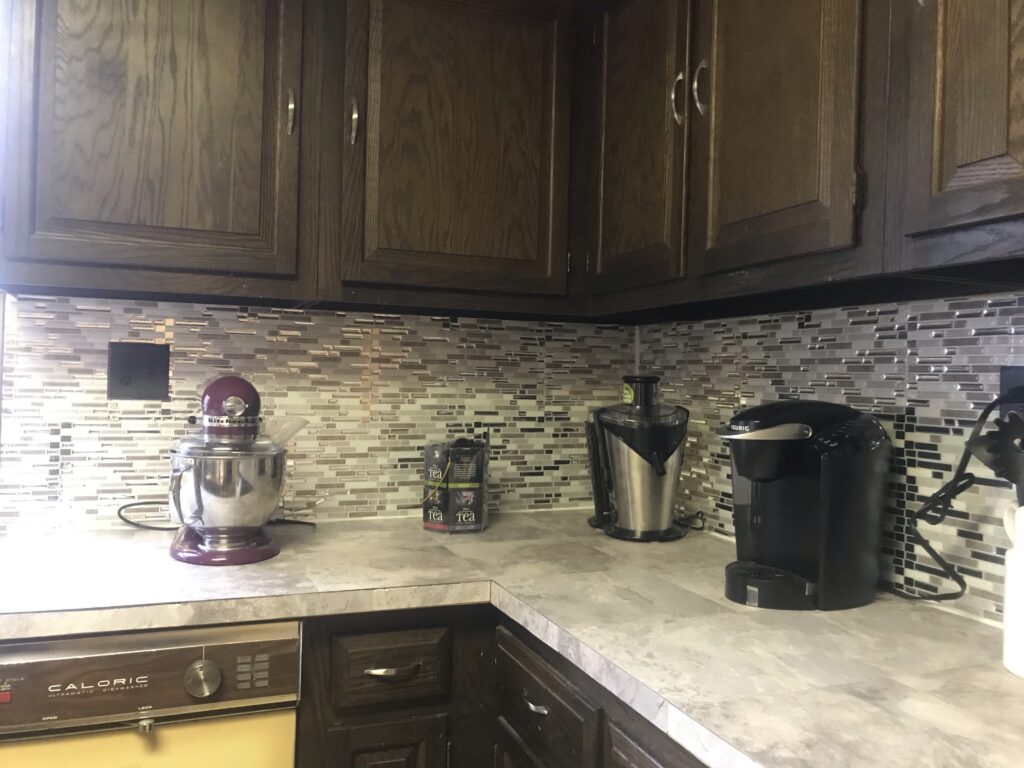
I’ve been dreaming of a new and modern looking kitchen for years but it’s just never been in the budget. My kitchen is so outdated, something that looked like it was from the 70’s which may have been the last time someone may have actually done any type of improvement on it.
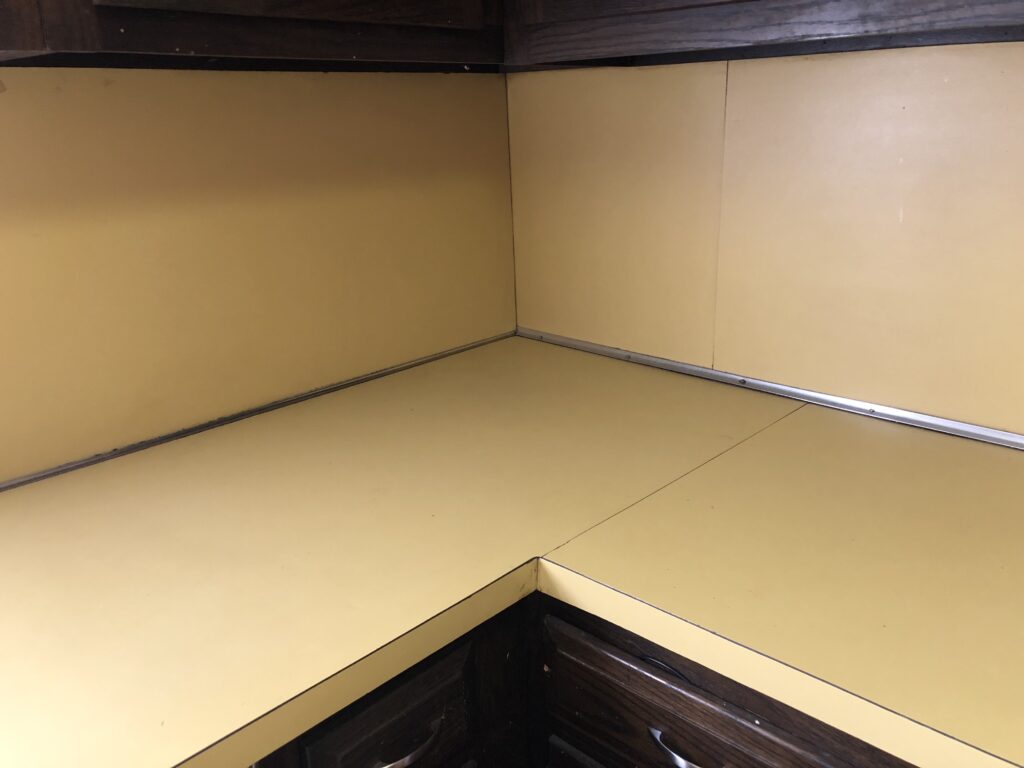
We all know countertops and backsplash can be very pricey. Then you have to factor in hiring someone if you are like me who isn’t able to install it myself it would probably cost me a lot of money. In times like this sometimes you just need to think outside of the box which is when google and amazon comes in handy.  Instead of completely replacing countertops a quick and cost effective solution is a product that you can just place over the existing countertop. 
There are two ways you can do this there is an actual counter top peel and stick product. The one I originally purchased was a roll and you can just cut it to the length and stick it on the counter. However thankful i figured out before i cut the product how messy and tricky this could be, it also is not the best quality product either. If you did not lay it on just correctly there would be bubbles and it could be easy to make a nick by mistake. Now after figuring out how bad this could be and the headache this could actually cause i decided to go a different way. Lucky a friend had suggested a second option which I probably should have gone with right away. 

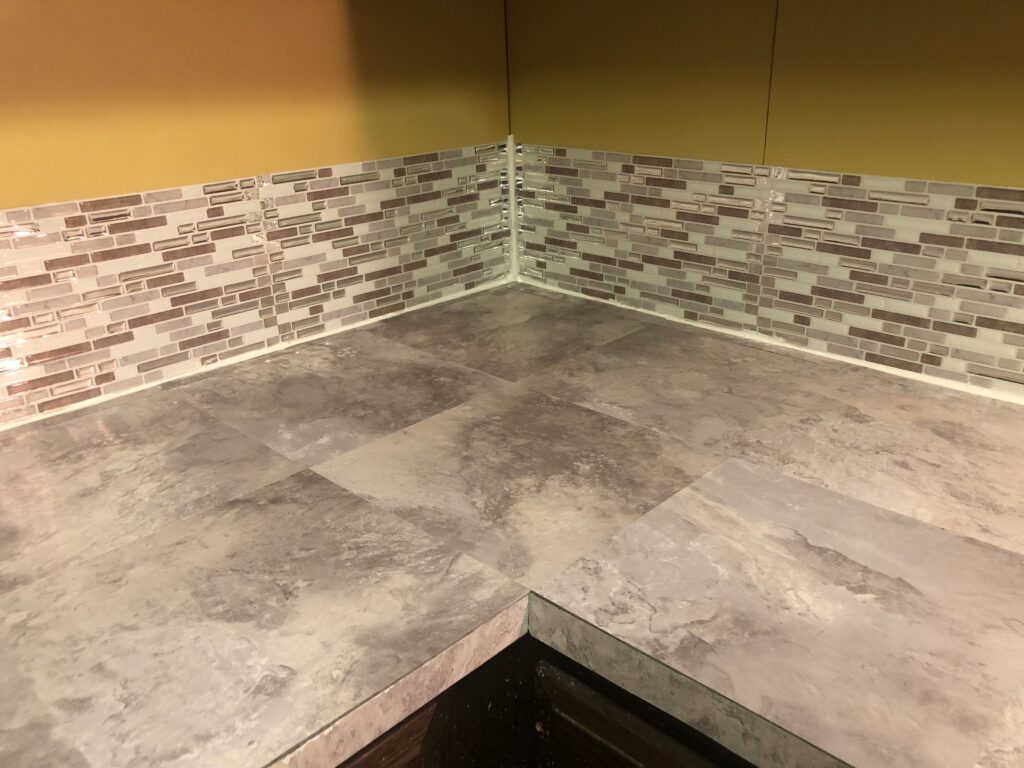
Peel and Stick Vinyl Tile was the perfect solution, depending on the pattern and color you go with it can look like a countertop. I only needed one box of the vinyl tile to cover my entire counter which was really lucky.  It looks absolutely beautiful and gives my counter such a clean fresh look to it now. 
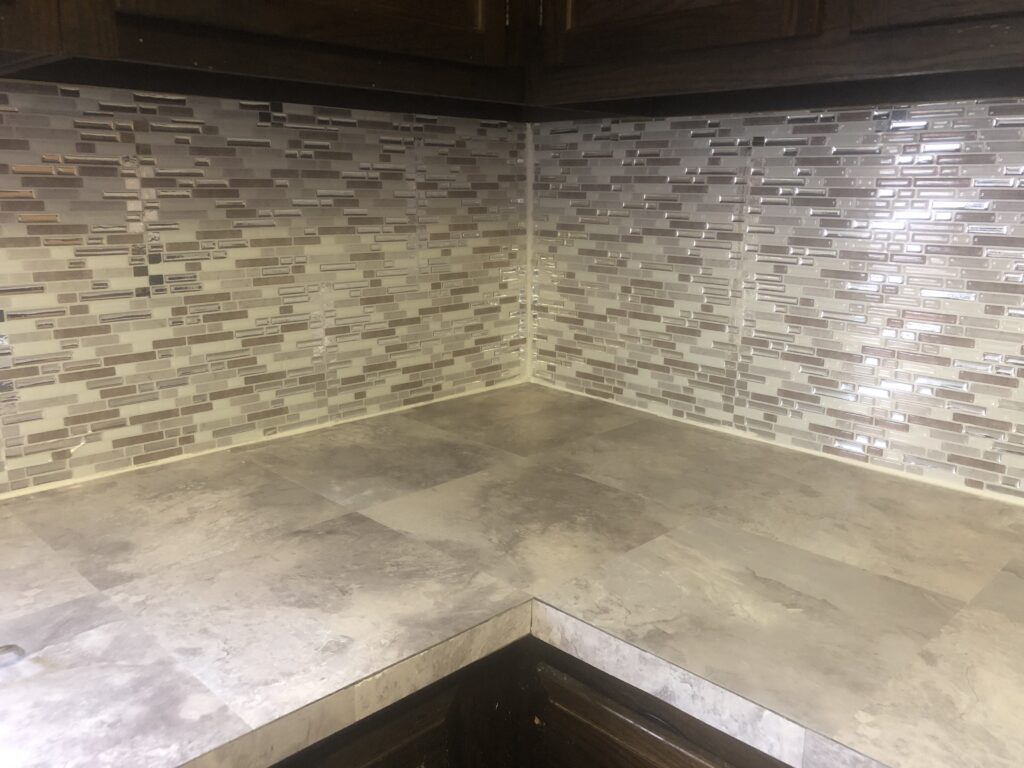
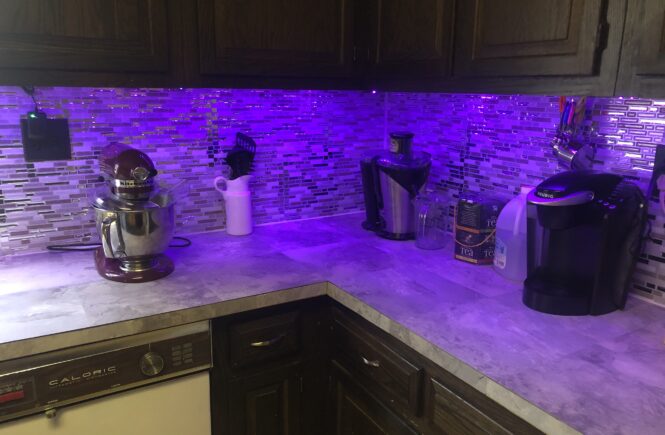
The backsplash was a little easier to figure out and deal with, there are so many amazing different styles of peel and stick backsplash. Some are very thin and easy to cut which would make it simple to model with corners or tricky areas within a kitchen. There are also others that  are thicker a little heavier which can also be good. I went with the thinner 3D wall style, the light color of the backsplash with the gray tile of the counter actually makes my kitchen look bigger. When the light reflects off of the backsplash it brightens the entire room. 
Products:
Backsplash: I went with the packages of 10 sheets in each which comes to $37.99 a pack.
Peel and Stick Vinyl Tile: One case has 30 pieces in it and the case is $26.10.
Countertop Peel and Stick: One roll cost $18.99, but this is the product i would not recommend buying.
The total cost for this project comes out to be about $217 give or tax a little with tax.
Continue Reading

Keep Calm and Bake!

One of the best ways for me to get out energy or when I’m really upset is to bake. I can throw my focus my mind into creating something delicious.  Also, if you are doing any part of it by hand it becomes a workout. For me this is a perfect way of having alone time, not talking to anyone if I am not in the mood to but still do something that’s in a positive way.  Whenever I am upset, I decide to try a new recipe something completely different then I have tried before.

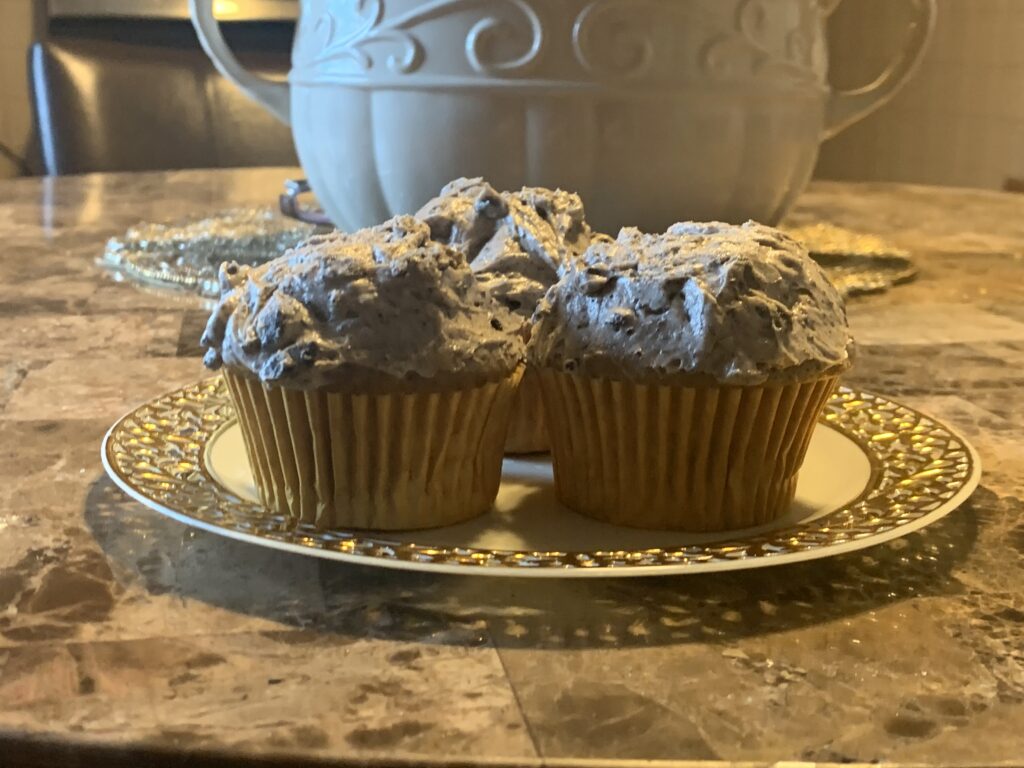
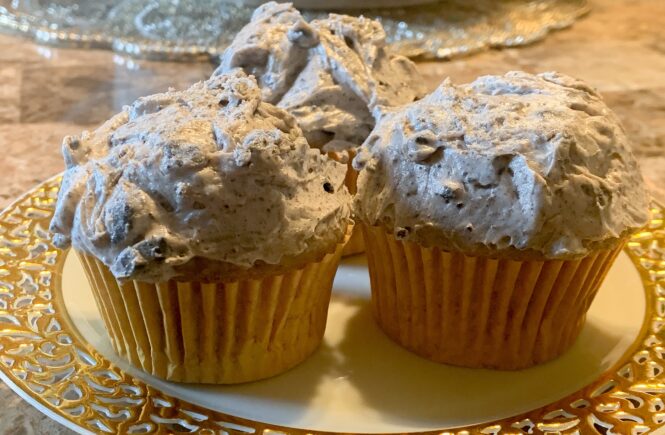
This allows me to not think solely about whatever issue I maybe dealing with at the time. I can work on processing everything out but not overthinking because I have to make sure I’m adding in the correct amount of sugar or flour at the same time.  Hand mixing cookie dough has become my favorite way to release aggression. Below is one of my most recent recipes, which turned out amazing Oreo cupcakes with an Oreo frosting.

 The one trick I have learned is to never bake for myself. When I bake i will always give the desserts to others which in the very end gives me such joy.  Do not get me wrong sometimes I wish I was just eating everything I was baking and maybe i will cheat here and there and eat a little bit. When i start the process it maybe creating something from a place of hurt or just so overly stressed but in the end, it becomes something that turns into great good. Seeing people enjoy the item I baked, fills my heart each time. It has become the perfect recipe of a healthy way to release whatever i am going through at the very least it has for me.

Cupcake Recipe below:
Cupcake Ingredients
For the cupcakes:
2 cups granulated sugar
½ cup vegetable oil
3 large eggs
1 tablespoon vanilla extract
½ cup sour cream
2 ½ cups all-purpose flour
3 teaspoons baking powder
1 teaspoon salt
1 ¼ cups milk (I tend to use 2%)
Crushed 15 Double stuffed Oreo’s

For the frosting:
3 sticks (1 ½ cups) Unsalted butter
2 cups powdered sugar
13 double stuff Oreo’s, crushed
1–2 tablespoons heavy whipping cream.

Instructions:
For the cupcakes: Preheat the oven to 350°F. Line a cupcake pan with cupcake liners.
In a large mixing bowl, combine the sugar, vegetable oil, eggs and vanilla extract. Beat on medium speed until the eggs and oil are well incorporated and the batter is lighter in color, about 2 minutes. Scrape down the bowl as needed.
Next mix in the sour cream and beat until well combined.
Add baking powder and salt and beat on low speed, once you have everything mixed together add half the flour and the while pouring in half of the milk and mix just until the flour starts to incorporate.
Finally add the remaining flour, mixing on low speed while pouring in the remaining milk and beating until all the ingredients are well combined.


Use a spatula to scrape down the sides of the bowl and stir the batter from the bottom to the top to ensure it’s well mixed


In a large Ziploc bag, crush the Oreos into small pieces using a spoon, your hands, a rolling pin or anything you really want. Fold the crushed Oreos into the cupcake batter.
I took a Pyrex Measuring Cup filling it with the cupcake batter and started to pour it into the cupcake tray. This allowed me to control how much I was putting into each section and caused such less mess for me it was amazing.


Bake at 350°F for 18-22 minutes depending on the type of stove you have so for mine I set my timer to 20 minutes and then judged from there. Test the cupcakes by inserting a toothpick into the center of the cupcake. Once the toothpick comes out clean, that’s your proof that the cupcakes are done.
For the frosting: Cut the butter into small pieces, I normally leave the butter out as I am making the cupcake batter to allow it to soften. If you have a kitchen Aid just use the paddle attachment, whip the butter for 3-4 minutes, check the paddle every once in a while, to see if you need to scrape down the butter that maybe on the paddle or on the sides of the bowl. You are going to want to beat the butter until it looks lighter in color or fluffier.


Then I will add the powdered sugar, 1 cup at a time, mixing on low speed until it’s incorporated into the butter. Slowly increase the speed to high and beat for 30-60 seconds. Repeat until all your powdered sugar has been added. I then let the mixer keep going after i added in all of the sugar while I started to crush the Oreo’s.
Put the Oreo’s in a large freeze zip lock bag and crush them. Add the crushed Oreo’s to the frosting along with the heavy whipping cream. Slowly beat the crumbs into the frosting then beat at a high speed for 60 seconds. I added the heavy whipping cream slowly and did not measure it out, I just added as much as I felt it needed a little at a time.


In a large piping bag fitted with a large closed star tip, pipe the frosting onto the cupcakes or you can take a spatula and spread the icing directly onto the cupcake in a circles motion if you do not have anything to pipe the frosting with.


NOTES:
You can you one family style double stuffed Oreo pack.
I basically just used a spoon and my hands to crumble the cookies until I was happy with the size of everything.

Continue Reading